How are your soap cutters different than others on the market?
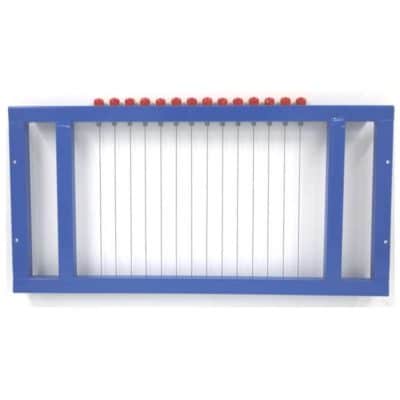
Proprietary wire: Our wire is the strongest in the market – not flimsy guitar wire that is meant for playing, not cutting.
Welded Steel: All of our cutters are welded out of sold steel bar, meaning they will last for decades
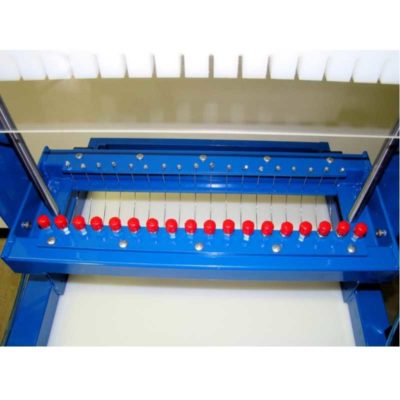
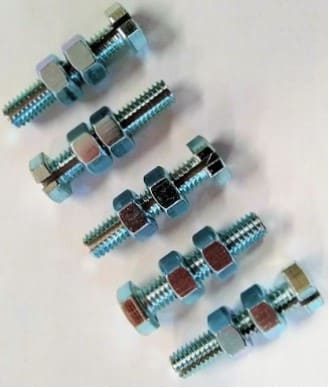
Our wiring system: Are you tired of tightening your wires with a guitar tuner? We would be. Our soap cutters use wire bolts that keep the wire in place and is specifically made to cut soap without having to tighten.
Durable: All of our soap cutters are made of durable welded steel, which is then powder coated for extra protection.
Made in the USA: Your equipment is designed and fabricated in the USA – made by people who know soap for people who make soap.
Can your soap cutters cut any type of soap?
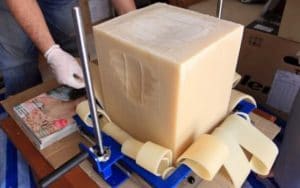
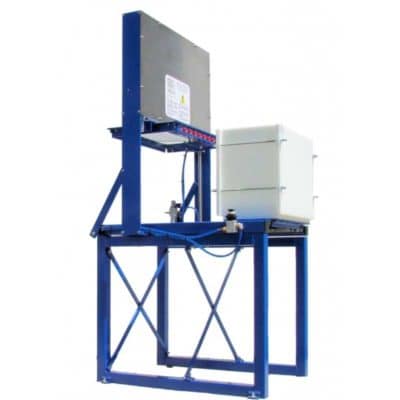
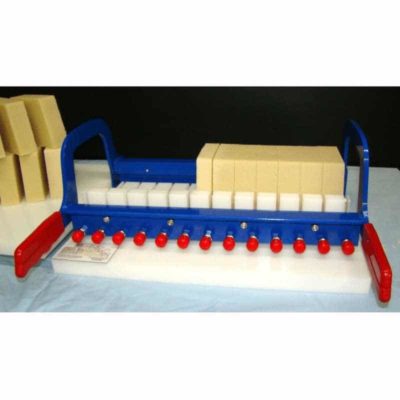
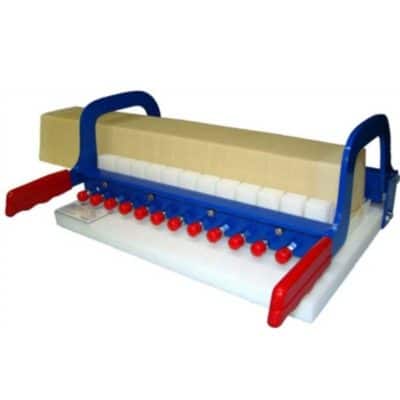
Yes! We have a soap cutter for every soap process. However, some cutters work better with certain types of soap. If you’re making cold processed or hot processed soap, you would use our loaf cutter, manual cutter or air cutter. These systems will cut anything from a single loaf to a 100+ LB blocks.
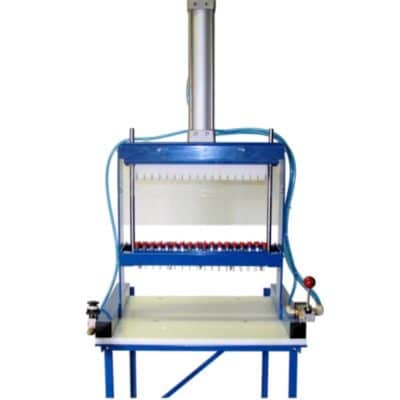
If you’re making melt and pour soap, you will use our Melt and Pour Cutter. M&P soap is much harder than CP or HP, so to it needs a different cutting design. The Melt and Pour cutter wires cut at an angle to increase the cutting force and are also pneumatically powered to deliver maximum pressure. These design features cut the hardest M&P soaps with ease. However, producing M&P soap limits you to cutting loaves. CP / HP soap can be cut in large blocks, but M&P soap is too hard to do that.
Should I be using a trim cut?
A trim cut is when you remove a cut an extra (1/8”-1/4”) on the outside of your mold while you’re cutting on each side of the soap while cutting.
There are two reasons for trim cuts:
Clean bars: The sides of soap loaves/blocks can look rustic due to the mold’s lining. Adding a 1/8”-1/4” trim on the sides of your soap will leave perfectly smooth sides on all of your soap bars.
No lining: A trick some customers use to avoid having to spend time lining their molds is to use a trash bag or plastic bag as the liner, then add a trim cut to fix the side walls. Trash bags make the sids of your mold look rough, but once you trim cut the sides it’s a perfect square with no wavy lines.
The downside to trim cuts is that you might get fewer bars per mold (depending on bar size and mold type), and you also lose a (small) amount of material when you’re making the cut.
Should I use a hoist with my Air Cutter or Manual Cutter?
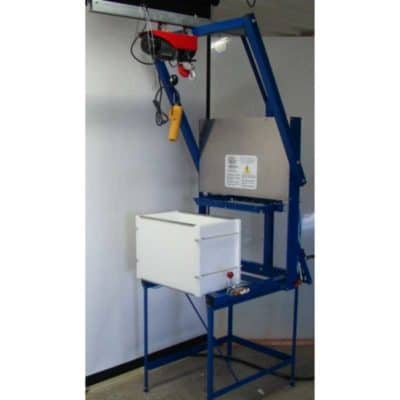
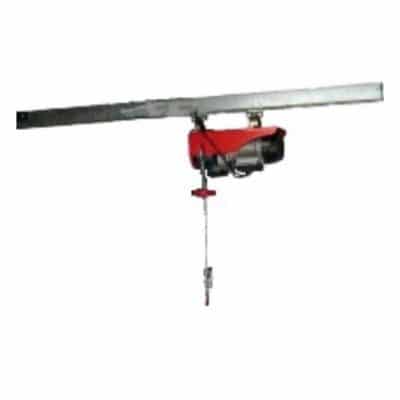
Yes! Our hoists do the hard work of lifting your heavy soap molds for you. A full Air Cutter Mold can weigh up to 120 pounds (54kg) – lifting that multiple times a day would be tiring! The hoist is also a back saver and can help you and your employees reduce any lifting-related injuries.
Can you use our cutters for cutting slabs?
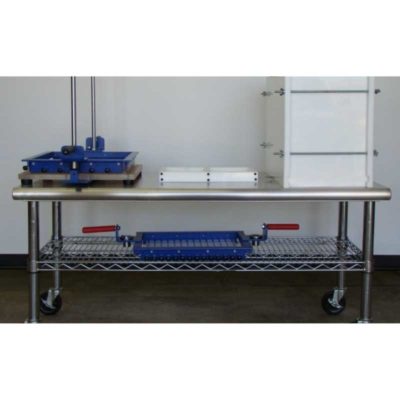
Yes! Once your loaves are cut, stack them on our AirCutter or Manual Cutter to cut in one motion with the bar frame instead of individually with a small Loaf Cutter.
How long should I wait to cut my soap?
You should cut your soap when it is soft enough to cut easily and hard enough to retain it’s shape when you cut it. Each production process is going to be different, but you can follow these general guidelines.
Hot Processed soap can be cut immediately after it’s poured. Your saponification happens in the tank as you’re cooking it, not in the molds.
Melt and Pour soap can be cut once the loaf has cooled in the mold and is hard to the touch. You don’t want to wait too long, as M&P soap can crumble if cut too late.
Your cold processed soap is probably ready when the inside of the batch is 90°F (32°C). Stick a thermometer into the center of the block / loaf to gauge the temperature.
The time from pouring to cutting will depend on multiple factors. The largest factor is your mold size. You should start checking a loaf mold after 12 hours. Start checking your block molds after 16 hours. Manual cutter molds generally ready in 16-30 hours, and air cutter molds are ready in 24-48 hours.
If you have a hard recipe or high water discount, you may need to cut your soap earlier.
What do I do if my soap is too hard to cut?
Too hard can mean two things.
If your soap is completely hard, inside and out, this means you need to cut your soap earlier. You can keep shortening your cutting time until you can’t shorten it anymore because the soap on the inside is still in the gel phase.
If the outside of the soap is hard, but the inside is still soft, your soap is still in the gel phase. Try insulating your mold to keep the heat in the soap. A lack of insulation leads to heat loss, slowing down the gel phase internally while the outside of the soap hardens from environmental exposure. We also recommend keeping your mold off of cold floors or walls, which will suck the heat away from your soap.
If your soap is a bit too hard to cut, try misting the top of your soap with water and placing a piece of wax paper or food wrap on top to keep the moisture in. Wait an hour or two for the moisture to absorb. If your soap isn’t too far gone, this method will help soften the soap enough to cut.
Room Temperature: Cure and cut the soap in a room 72°F (22°C) or higher. If the room is too cold, the outside will harden before the inside has solidified, leading to a soap block you can’t cut.
If your soap is still too hard, then you should look at your recipe and water discount.
Recipe and ingredients will also play an important role. If you have a hard recipe, you will need to cut your soap earlier. Oils such as palm, shea butter, Cocoa butter and tallow will make your soap hard, as will additives like oats, clay, herbs, steric acid and beeswax. For very hard recipes, we recommend cutting your first batch as soon as possible then adjusting your cutting times accordinly based on results.
Water discounts will help you shorten curing and drying times but can also make soap harder to cut. The larger the mold, the bigger the chemical reaction, which means more heat and water dissipation. If you’re new to large block molds, make your first batch without a water discount to see how your formula reacts in a large mold, and add a water discount from there.
Water discounts are great and necessary when scaling your business so as not to have potential revenue sitting on your shelves. However, not taking the time to learn your formula with larger equipment can cost you hundreds of dollars when the soap doesn’t turn out because there isn’t enough water or too many additives for the batch size. Once you nail down your process, feel free to add water discounts or “harder” ingredients to lower your curing time and reduce your Work in Progress (WIP) (see our article “How to Scale Your Soap Making Business” for more details).
What’s the difference between a loaf and a bar grid?
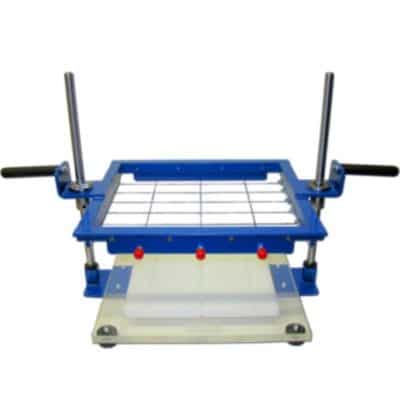
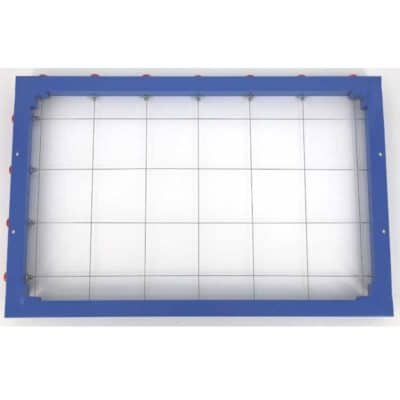
Our professional soap cutting machines have two cutting grids. The first step is the loaf cut, which splits your large block of soap into loaves. The second step is your bar cut.
The loaf cut takes the place of having to use dozens of individual loaf molds. After you cut your loaves, stack them together to cut all of them at once with your bar cut.
Air Cutter Mold Example: Making a 3″ x 2″ x 1″ bar in an Air Cutter mold will get you 42 loaves per mold (first cut) and 13 bars per loaf (second cut), which gives you 546 bars per mold.
In this situation, the loaf cut replaces 42 single loaf molds with one block mold. The bar cut with multiple loaves stacked together replaces 42 individual bar cuts with a small loaf cutter, giving you 546 bars with a single cut (13 bars per mold x 42 loaves).
How do I avoid breaking the wires on my soap cutters?
Our soap cutters are wired with our proprietary wire and system. Our wire is thicker than guitar wire and is looped several times around our slotted bolts, which are tightened to ensure the wire tension is secure and won’t need to be revisited for months. To further reduce the risk of breaking a wire, we recommend the following:
Use a rubber mallet: After lowering your frame to touch the soap block, use a rubber mallet to tap the wires of the frame that are touching the soap into the top layer. Continue to move the frame down until all of the wires are tapped into the top layer. Doing this will reduce the amount of tension put on the wires, and increase their lifespan.
Watch your curing time: Leaving your soap too long can result in a block that is too hard to cut without breaking a wire first. Keep an eye on your soap to avoid this!
Consider your recipe: Harder ingredients and additives can cause a recipe to require a shorter waiting time. Failing to consider recipe ingredients may result in a too-hard soap that can snap wires. See the “When to Cut Soap” section above for more information.
Check wires periodically: Check the tightness of your wires to ensure proper tension. Do not over-tighten your wires – the wires will stay tuned after one or two very slight adjustments.
What is the best way to rack my soap after it is cut?
Place the bars on their edges: This will save a lot of drying space, and your bars will generally dry faster. About 1/8” (3mm) between rows and bars is sufficient. For hotel soap bars, which are generally very thin and will likely not stand easily on their own, we recommend standing the soap bars on edge, about 1/8” (3mm) apart. Run two rows, then place bars flat on top across the bars and between the rows. Press these flat bars just a little to stick slightly. This will lock the stacks together.
Vented Drying Trays: Our Vented Drying Trays provide 360° ventilation, making for super-fast curing times.