Soap Mold Comparison Table:
Key Features of our Soap Molds:
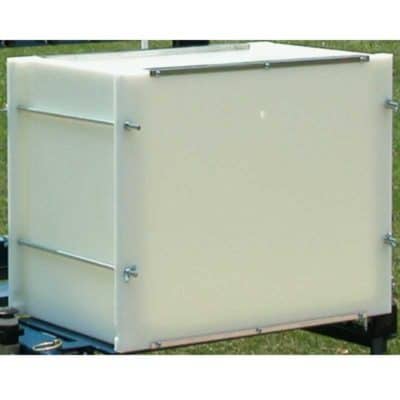
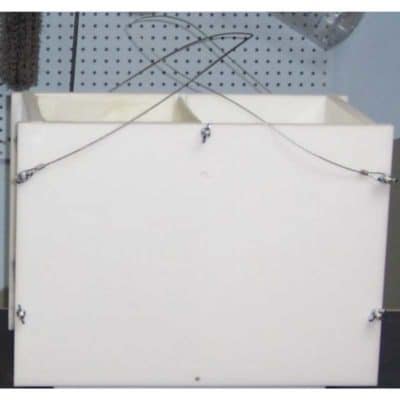
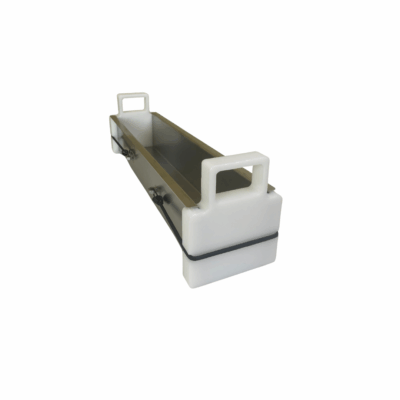
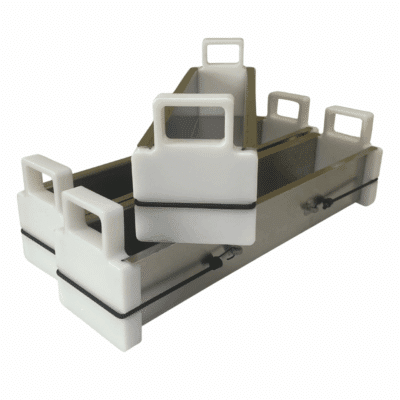
HDPE: All of Loaf and Block Molds are made of HDPE.
Acrylic Plastic: We used to make molds with acrylic until we found out about their short life span – then we switched to HDPE.
Wood: Needs to have some type of liner.
Stainless Steel: Stainless steel molds are the best option after HDPE, in our opinion.
Soap Mold Liners Explained:
Mylar: Releases nicely but can stick a little.
Silicone: Releases very well and seems to stick to the mold side well.
Thin Plastic Sheets: We don’t see the point, as once you remove the mold, you still have to peel off the plastic and not bend it.
Shower Curtains: We have not tested these, but we don’t use them either.
Teflon: Releases okay but is known to stick to some types of soap.
Shortening/Oil Only: Some types of soap release well with just this.
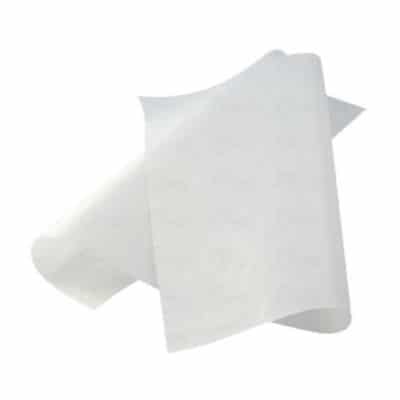
Freezer Paper: Releases and adheres to the soap mold well.
Silicone Paint/Paint-On Release Agents: These eventually break down and need to be recoated.
How long do your Large Pro Molds take to saponify?
Large molds provide a larger environment for moisture and heat containment, which leads to better saponification.
– Air Cutter Mold: Approx. 2-3 days. Begin checking at 2 days.
– Manual Cutter Mold: Approx. 1-2 days. Begin checking at 24 hours.
These numbers depend on your recipe and external factors. After a few batches, you will have a good average on your saponification time.
Do I need to line my soap molds?
We highly recommend lining your molds to provide an easy release when de-molding.
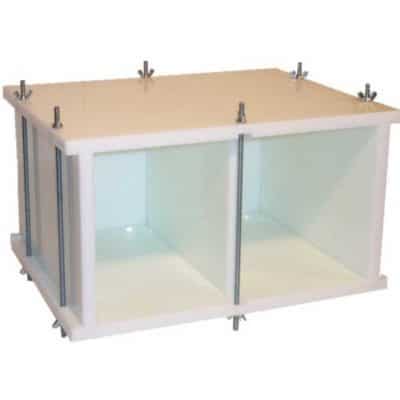
I recently saw a slab mold divided up into compartments made out of acrylic. Can you make a custom mold like this for us?
We do not make molds out of acrylic. Molds made of Acrylic plastic will eventually break down and start cracking from the essential and fragrance oils. It takes time, but it will happen with the heat up and cool down of the plastic and absorption of oils. It is a real disservice to the unaware SoapMaker, who has spent good money purchasing these. We used to make them for ourselves and went to HDPE when we found out.
We will not make individual bar divider molds. The Loaf Mold is a better option; however, we do make custom slab molds. They will last for many years to come. The divider, though it looks like it will save time by not having to cut your soap, really doesn’t. The mold will have to be either put in the oven to heat up or in the freezer overnight to release easily. You can pull the dividers out with a pair of pliers, but that’s easier said than done. You could have used the time spent doing any of these to cut the soap, not to mention the wasted energy.
I am intrigued by silicone liners. It seems to me to be a great solution to the problem of fitting liners for each batch. What do you think about silicone liners for the larger production shops where you have provided the soapmaking equipment?
The silicone seems to work okay for hobbyists and small batch production. We have not found that to be the case ourselves, but we see people using this liner method. Silicone tears and degrades over time, and of course, is expensive. For a large block pour with a Manual Soap Cutterâ„¢ Mold, it is just too easy to line a soap mold versus having to handle and wrangle around a 40 lb block of soap to remove the liner.
We have tried about everything out there. We were building professional soap cutters long before anyone else. If silicone were a viable solution for Large Batch SoapMaking, guaranteed, we would have been the first to have perfected it. If you could take a poll of all the SoapMakers out there, you would find that 90% of the companies making large batches and pouring 500 lbs or more of soap per week are using paper liners.
We have designed both of our Pro-Cutters to load easily, either by sliding the block onto a Manual Soap Cutterâ„¢ Loaf Table or setting it onto the Air Soap Cutterâ„¢ Rolling Table, to cut right from the mold bottom itself. Silicone is too fragile to push around a 40 lb block of soap while sitting on top of it (Manual Soap Cutterâ„¢). Having silicone rubber on the bottom of either type of Molds (Air Soap Cutterâ„¢ or Manual Soap Cutterâ„¢) would prevent the wires from passing through the block of soap into the grooves.
Things like lining, stirring, heating oils, mixing lye, etc., are in the category of being a hassle by the Handcrafted SoapMaker because no one took a step back to find a more efficient method. We happen to be the first to do so. Take, for example, weighing and heating oils; before we started supplying Oil Heaters, people were doing this one batch at a time. It would take hours just heating oils to mix a few batches. Now, all the oils are mixed and heated for several batches all at once. Not only are they heated more efficiently, with less energy but in much less time. The SoapMaker also saves time in measuring both, in and out, of the Oil Heater.
With liners, you would do the same thing, pre-cut lots of liners. It only takes two sizes, one for the bottom the other for the perimeter. The height of the liner is already pre-cut. With a template for the soap mold bottom and a simple mark on the table for the length of the perimeter liner, you can make a hundred sets in a few hours. It takes 30 seconds to line a soap mold if you take the time to get the procedure down pat. You get excellent release both from the soap and from the mold. It makes a very tight corner, adheres tightly to the soap mold, is wrinkle-free, does not outgas, does not need to be washed, and does not matter if you get a little tear in it.
What do you recommend for lining your soap molds?
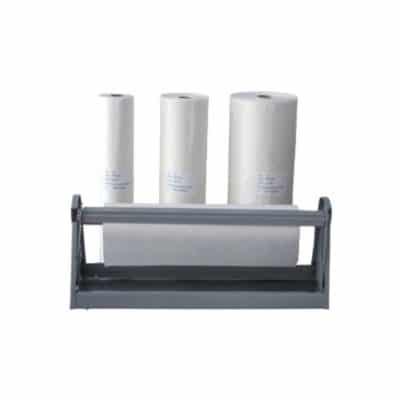
We recommend our own Mold Release Liner, made to our specifications and width. You can also use plastic-lined freezer paper, although this does not smooth out as well.
Isn’t it a hassle lining soap molds?
An experienced Soaper can line a mold in less than 30 seconds. It is all about efficiency and organizing yourself and your supplies. We recommend making templates and cutting multiple sets at a time.
How do you stop soap molds from leaking? Do you line the soap molds, or is there something that seals the edges?
Pouring at a slightly thicker trace is the easiest method. Until you get the hang of it, you can put some old soft soap or shortening in the corners a couple of inches each way. If you have our soap molds, yes, you should line it but not for leaking, for ease of de-molding.
I noticed that some of the grooves in the molds are tight, others a little loose.
The HDPE plastic is poured, and therefore, it is not perfect. However, it is the perfect plastic and composition for this type of use. It can vary in its 3/4″ thickness as much a 1/32″ either way. This variance will not affect the mold’s performance.
The soap molds are sure a challenge to put together. Will they be easier to fit together as time goes on?
We make the fit tight to start on purpose. This type of plastic is perfect for this application, but it is poured in sheets and, therefore, not perfect in thickness. One or two pours, and you will see a difference. The molds will loosen as you use them. You can also put a little shortening on them to make them slip in easier. The heat from the saponification process will expand the mold grooves, and the oils you leave in them will make assembly easy.
First off, you want to make sure you are re-assembling your molds when you de-mold – this will keep them from warping. If you do have to stack the parts, make very sure each panel is flat.
Occasionally a customer with an Air Soap Cutterâ„¢ mold may have a slight problem getting a mold bottom into the groove because the grooves allow some bowing. We do compensate for most of this with relief grooves on the opposite side.
Start at one corner and roll it into the groove taping with your rubber mallet. The assembly will become easier the more you use the molds. You can also put a little shortening on them to make them slip in easier. The heat from the saponification process will expand the mold grooves, and the oils you leave in them will make assembly easy. If you make a lot of soap in 6 months, you probably won’t need a rubber hammer.
Efficiency and economy of motion is the primary reason, also less waste. Of course, there is no tough crust or ash to deal with, and you get a much better quality and saponification. At some point in production and growth, one has to move to fewer steps in the pouring and cutting process. Block form is the logical solution.
Is it true that block molds provide better saponification?
Absolutely! By providing a better environment for moisture and heat containment, the result is better saponification.Â
How long will it take for the soaps to saponify enough in your Professional Block Molds, where they can be de-molded?
– Air Soap Cutter Mold: Anywhere from 2-3 days. Start checking at two days.
– Manual Soap Cutter Mold: Anywhere from 1-2 days. Start checking at 24 hours.
Note:Â These numbers depend on your formula. You will have a good average after a few batches. Taking notes on each batch is the best way to get to know your product.
The Manual Soap Cutterâ„¢ is most efficient at cutting a block between 35 to 45 pounds. However, this is relative to the bar size and number of wires penetrating the block. We will help you calculate your mold size.
How long do you wait to cut after de-molding?
You cut the loaves as soon as you de-mold. If you make a palm-based formula, you will de-mold sooner than a soy-based formula because it will harden more quickly. Record what you see and experience. There is no hard and fast rule. Handcrafted Cold Processed and Hot Processed soap have such a wide range of conditions. Remember, if you wait too long, it can be tough cutting through with your wires.
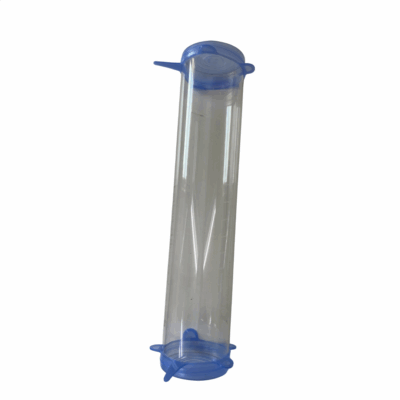
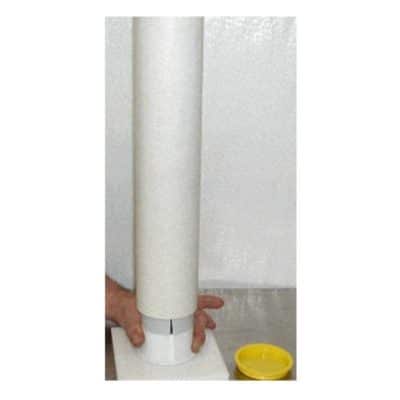
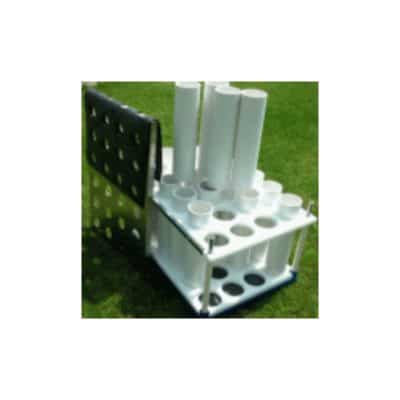
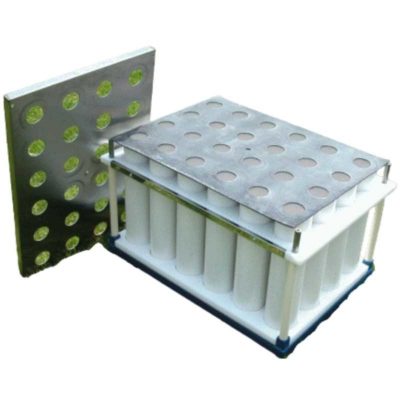
The tubes sit in a Nitrile rubber pad that spans the entire mold bottom. They nest into pockets that are machined into an HDPE Plastic Plate.
No, you do not grease the sides because you want your soap to slide out easily. The liner has just a little spring when rolled the opposite way it came off the roll. You can also use our reusable Teflon Tube Mold Liners.
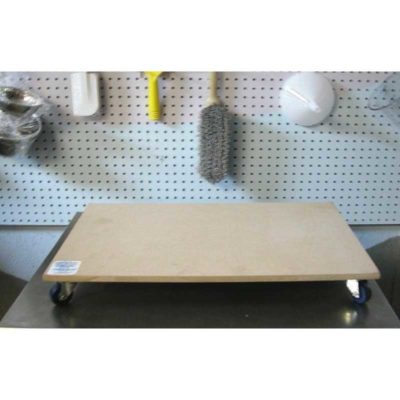
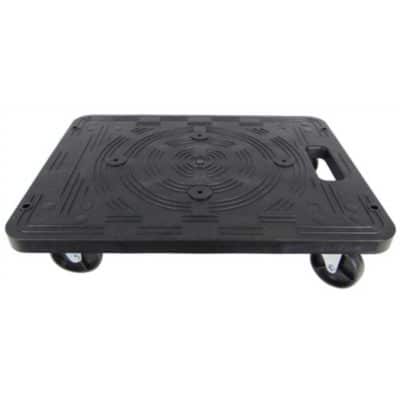
The mold dollies are to the Air Soap Cutterâ„¢ Molds onto, making it easier to move them around to and from the Pot Tipper and the Air Soap Cutterâ„¢. We make these soap mold dollies to fit inside the bottom rim of your mold. Therefore, they are locked in and will not slide out.Â
I know people have used our soap molds for oven Processed but as I recall, it was not more than 180. I cannot recommend it but of course, it is strictly your decision how you use them. The utilization Temperature range of HDPE plastic is -180 to + 180, melting point 266.